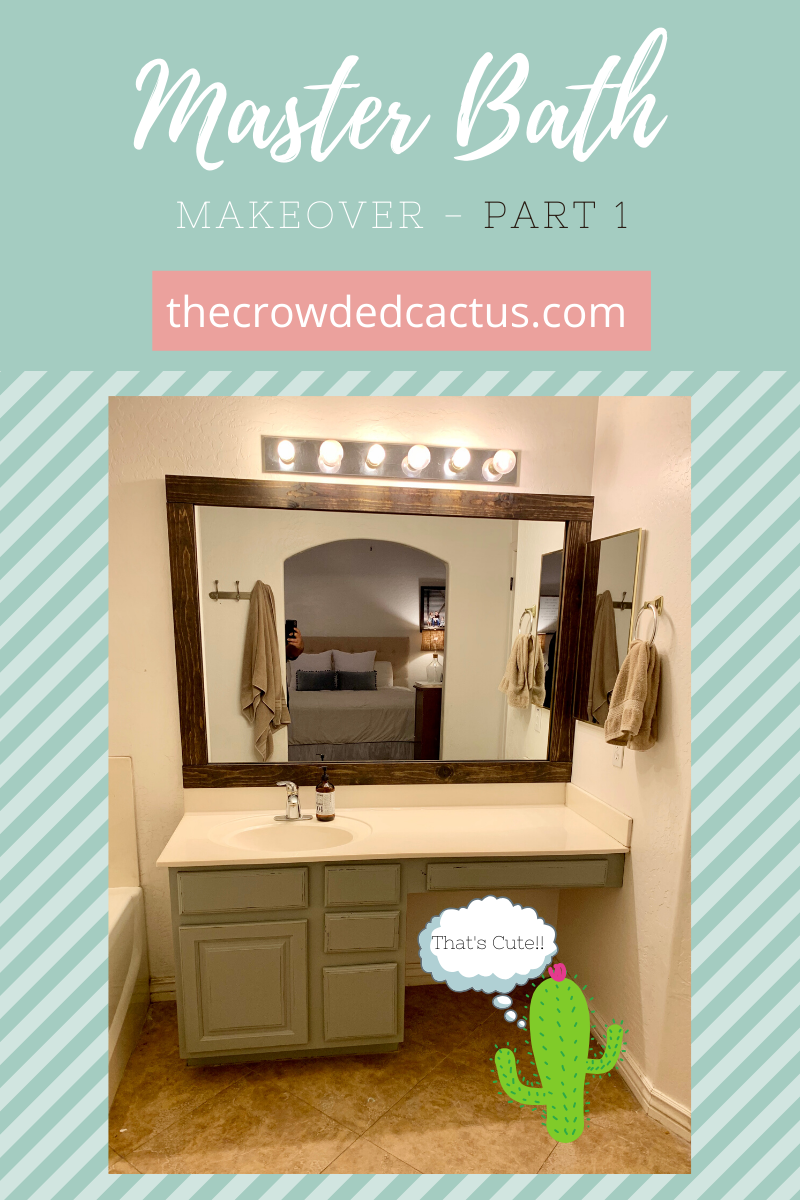
Bathroom Makeover Part 1


Want to make a dramatic change in your bathroom without spending a lot of money? Then keep reading!
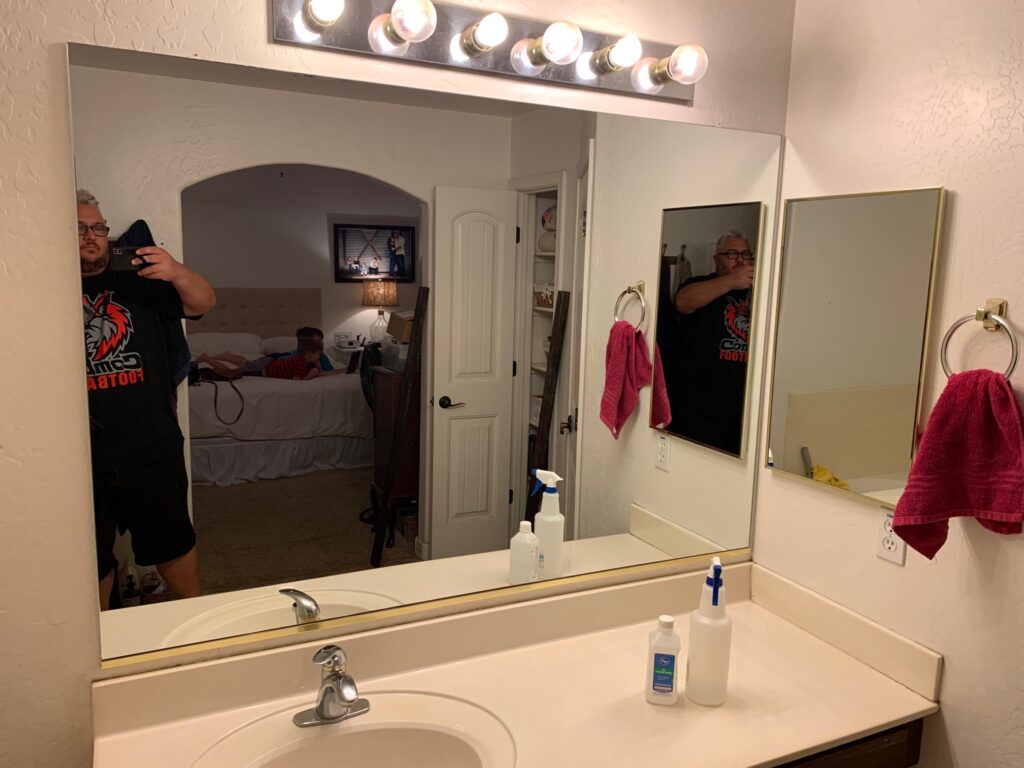
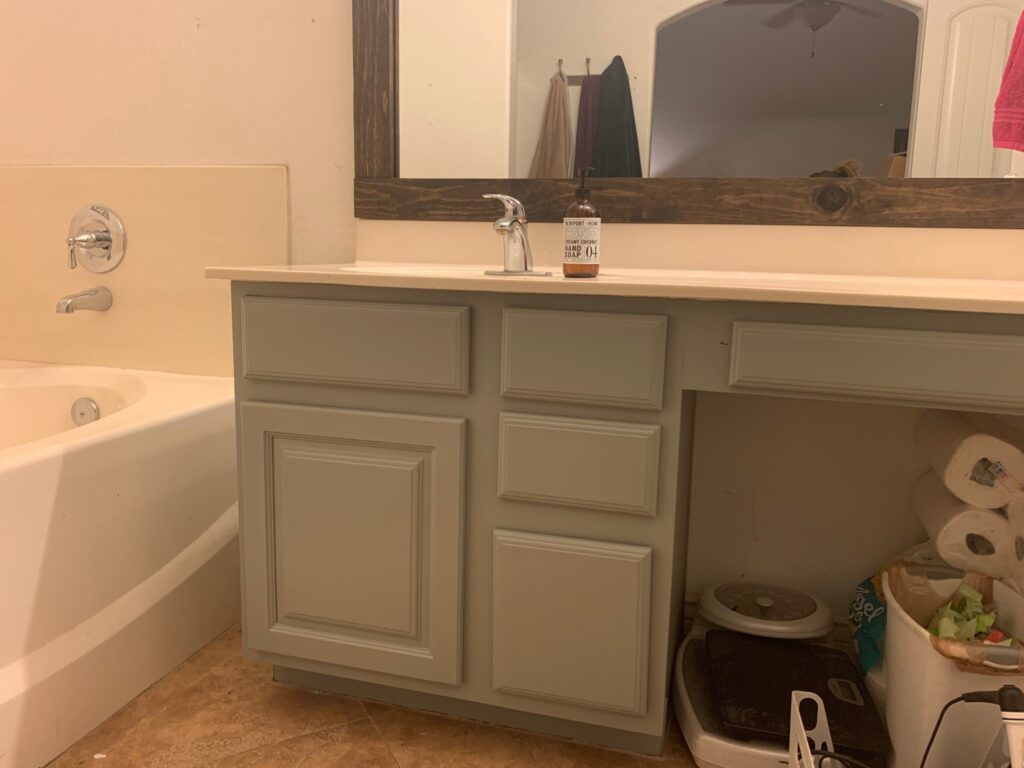
My family moved into our builder’s grade track home about 14 summers, 3 kids, and several gray hairs ago. I’ve literally always wanted to change the bland look of our master bathroom from day one. Not that it was terribly built, it was just so…. generic. You know? Yeah, you know.
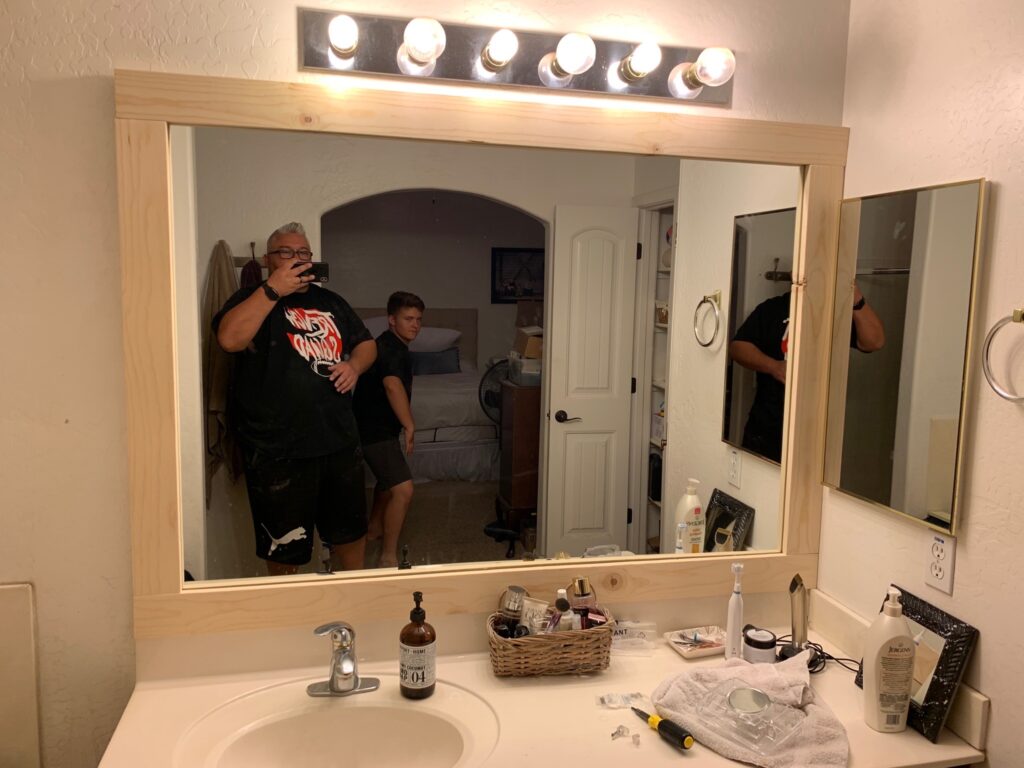
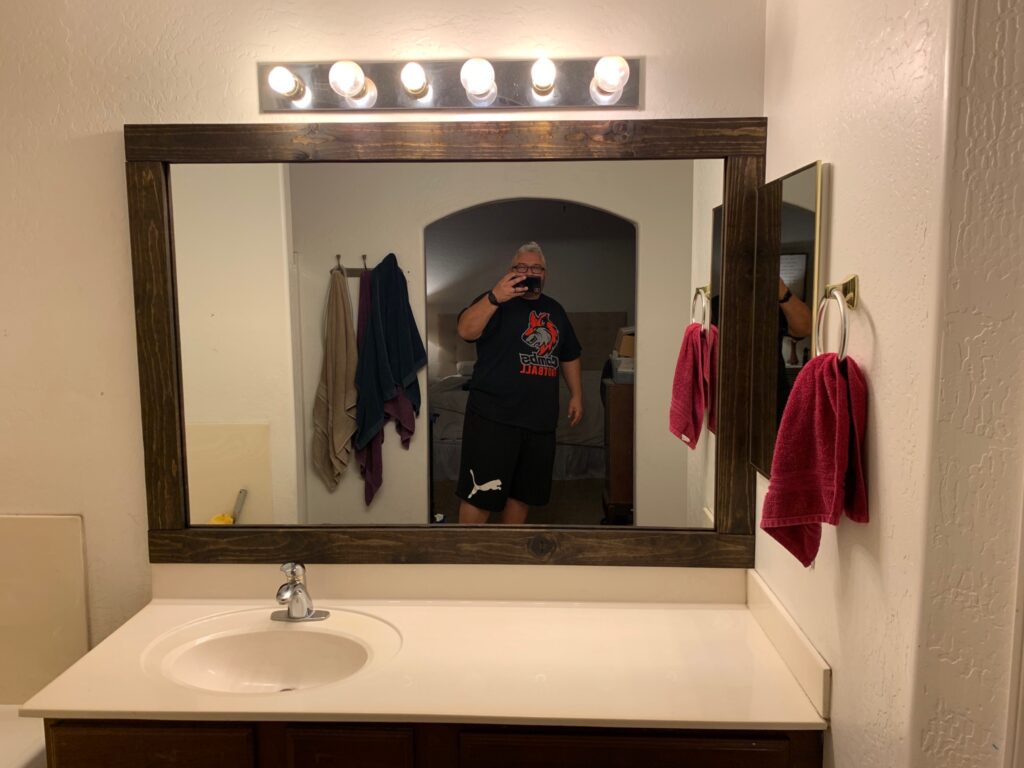
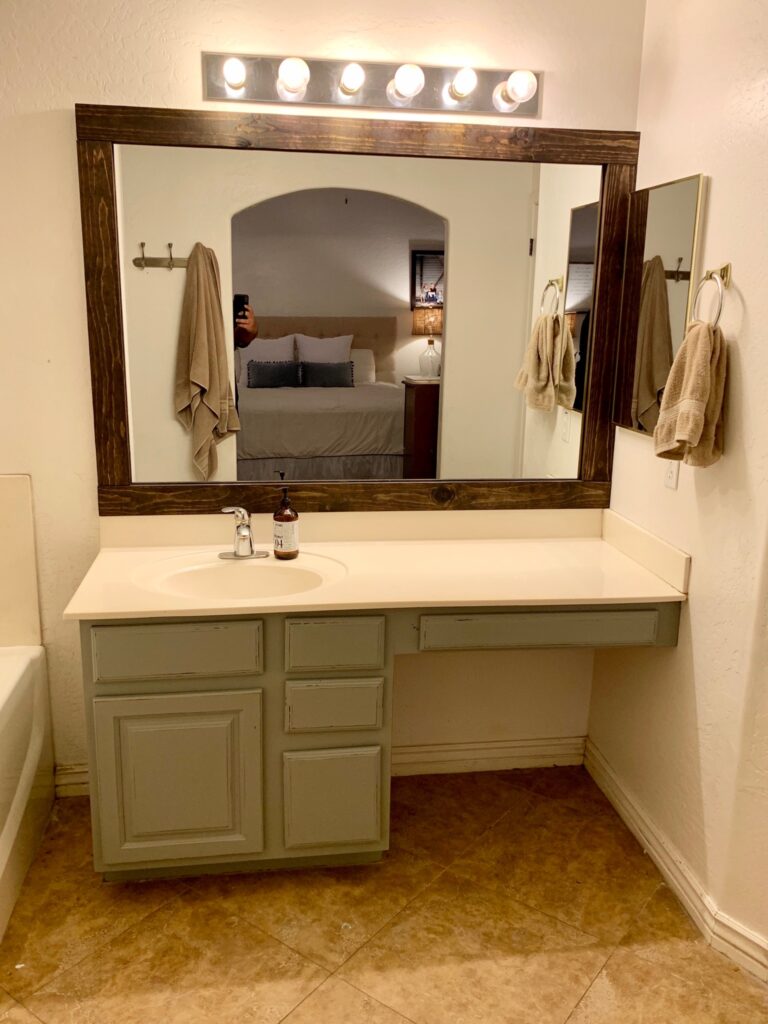
So, Pinterest became a thing since then and gradually I built up courage to try something awesome on my own. Well of course, with the help of my dear husband. And since it had been 14 years I figured a little makeover couldn’t really hurt it, could it? I don’t know, you tell me if the before pic or after pic looks better. 😬 🤞
1. Measure your mirror- then double check – then triple check. ✔️ ✔️✔️
2. Go to Home Depot and buy 1x4s , the straightest ones you can find. We only needed two that were each 8’ long. Have the guy working there cut your pieces to the triple- or quadruple- checked measurements.
(While you’re there, pick up some sand paper if you don’t already have some, and pick a wood stain color you like. Also you need command strips. They sell those there too!)
3. When you get home, check and see if your measurements were actually right by putting them up to your mirror and see if they fit right. We used our miter saw to get them just the right size.
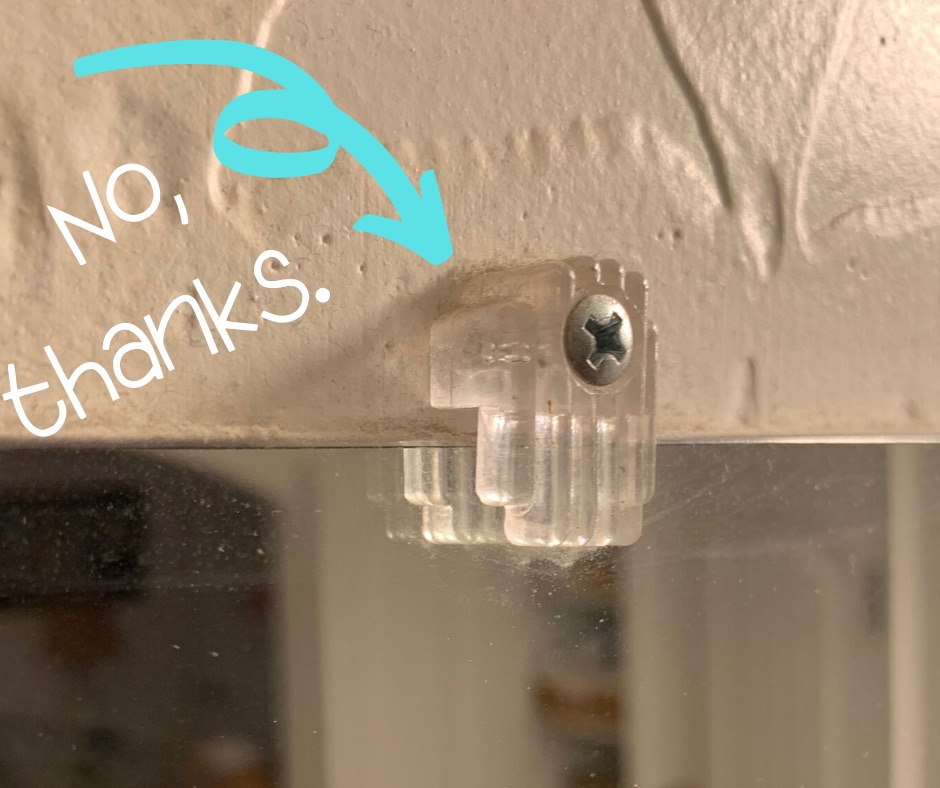
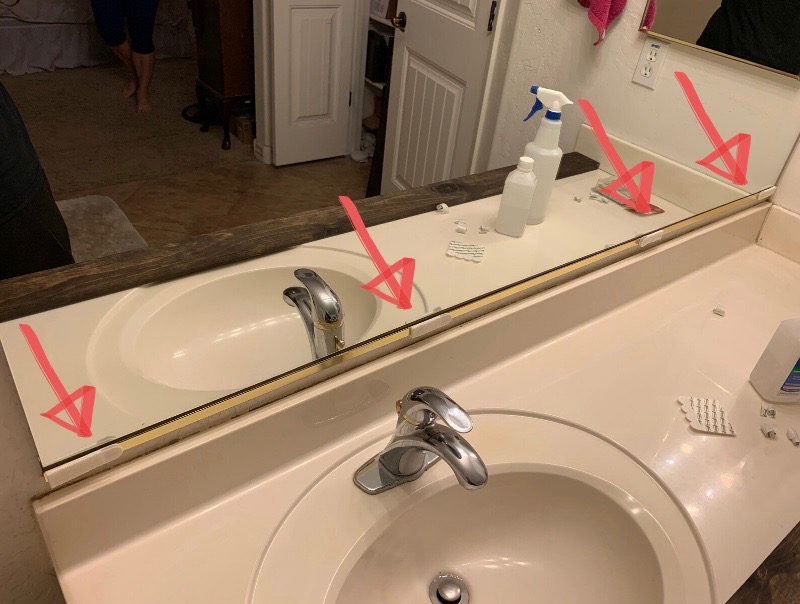
Note: You might be wondering what to do with those builder-grade plastic tabs that are supposedly holding up your entire mirror. We bought some thin, washers to replace the tabs with, but we didn’t need them. When my husband @olsenbro carefully removed the tabs he gently pulled on the mirror and it was stuck very well to the wall. He said the mirror was probably installed with some strong mirror adhesive anyways, so we removed those ugly plastic tabs and the mirror hasn’t fallen on our heads yet!
4. Sand all sides of the boards. It’s easy with one of these bad boys.
5. Stain the boards. (I chose this kind) You could apply it with a foam brush or a staining pad sponge. Follow the directions on the can for how long to let them dry. I think I waited an hour. You could do two coats if you think it needs it, but mine was dark enough with just one coat. (You’ll want to wear gloves.)
6. Spray some polyurethane on them for protection from water splashes.
7. Now, bust out those command strips! (This is the fun part!) We put four on the top/bottom parts of the mirror, and three on the left/right sides.
8. Then, just those boards on! We read the directions on the back of the command strips and it was really simple. The amazing part is that THEY WORK! They held up, and are still holding up those 2x4s all day long.
Now I was excited with the way the room looked and I was feeling very confident. So, I decided to paint the cupboards! Here’s the steps I took:
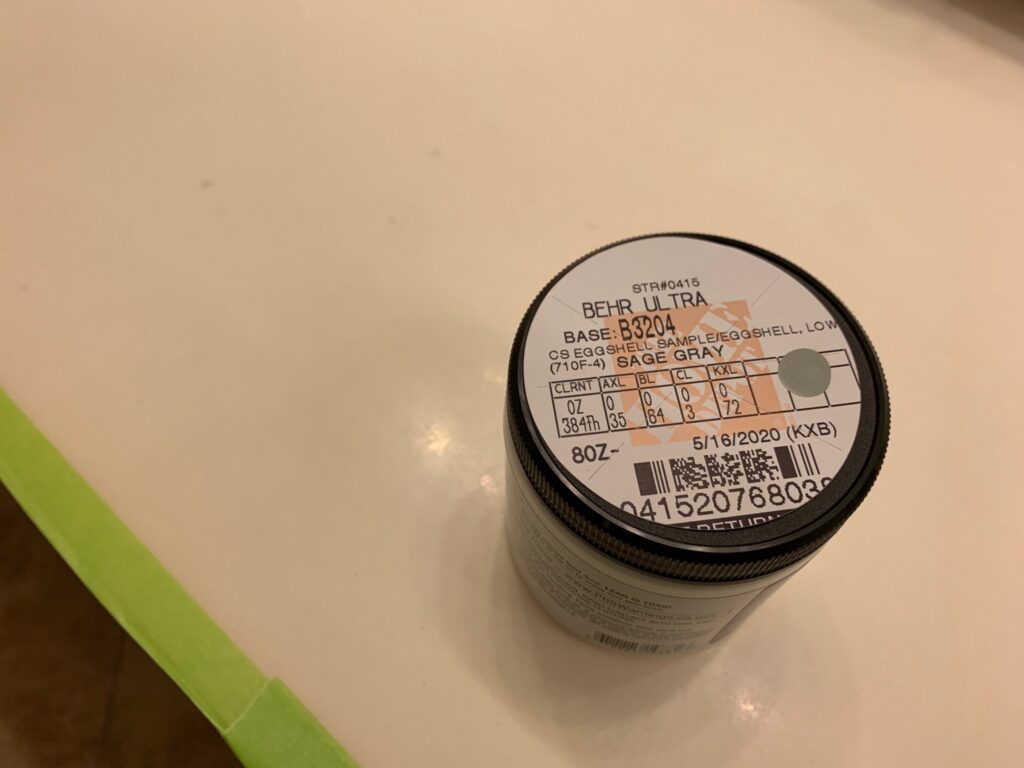
1. Pick your favorite color paint at Home Depot. I chose Behr Sage Gray with an eggshell finish. You could buy just a tiny sample like I did to test out the color.
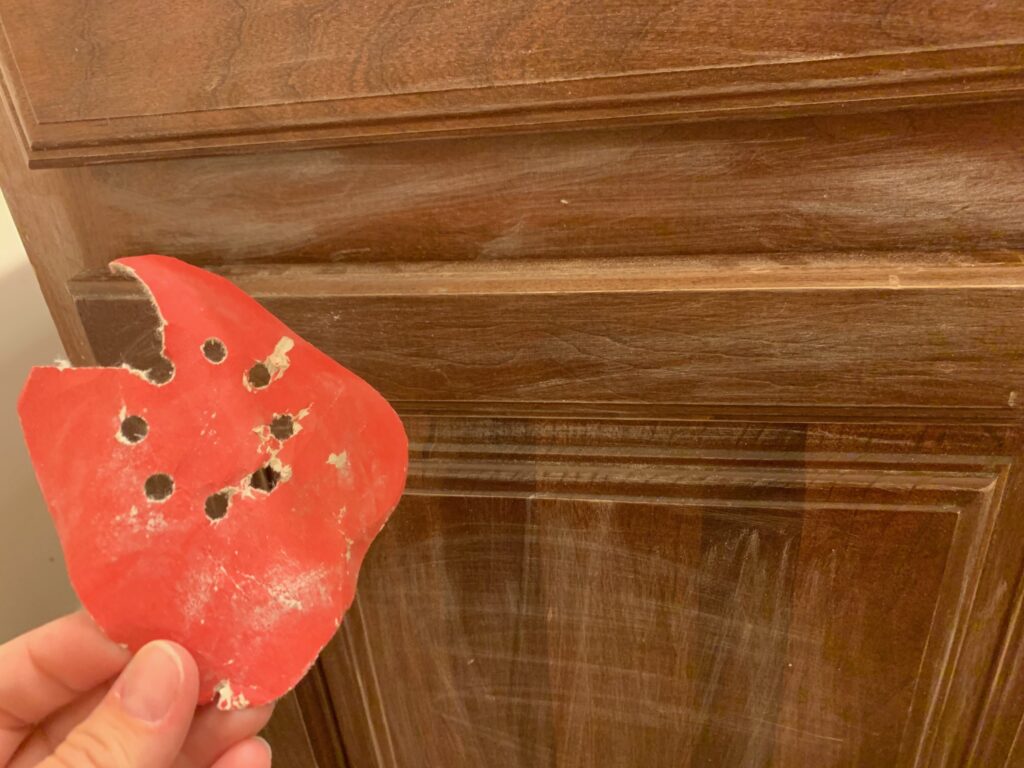
2. Wipe down the cupboards, then lightly sand them.

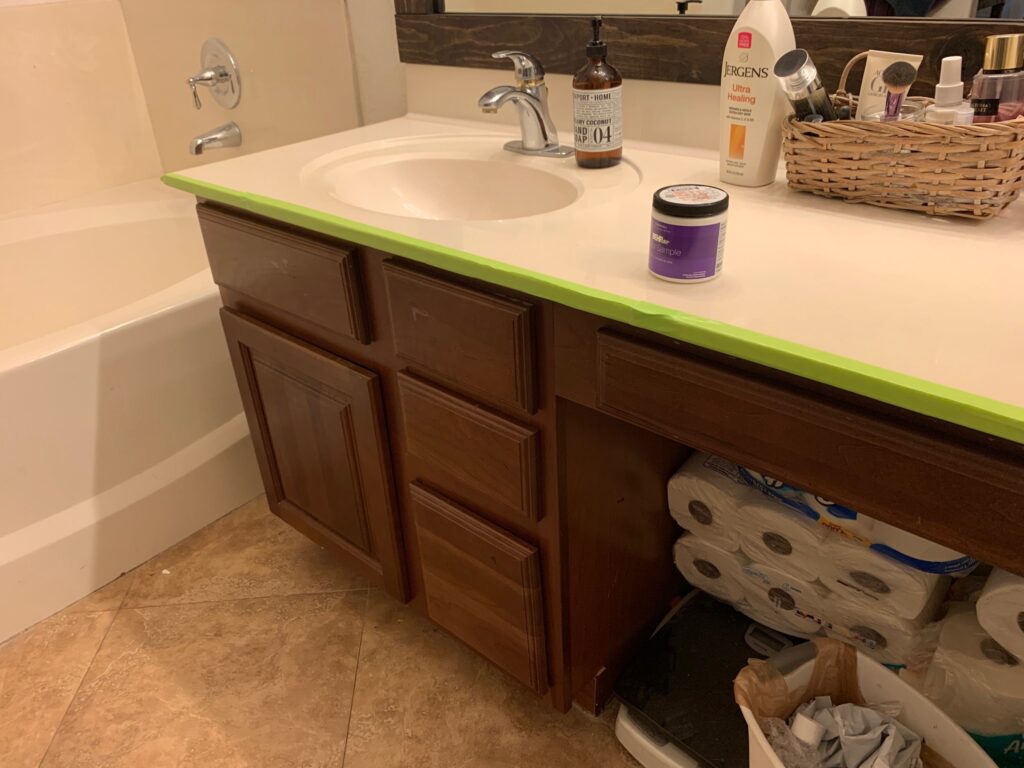
3. Tape off the area you don’t want painted. I recommend using this painters tape, it’s better than the blue kind.
4. Go ahead and paint away! I used foam brushes and a plastic painters tray. I recommend doing three light, thin coats and letting it dry 30 minutes between coats.

Optional step* Let your paint dry for a weekend.
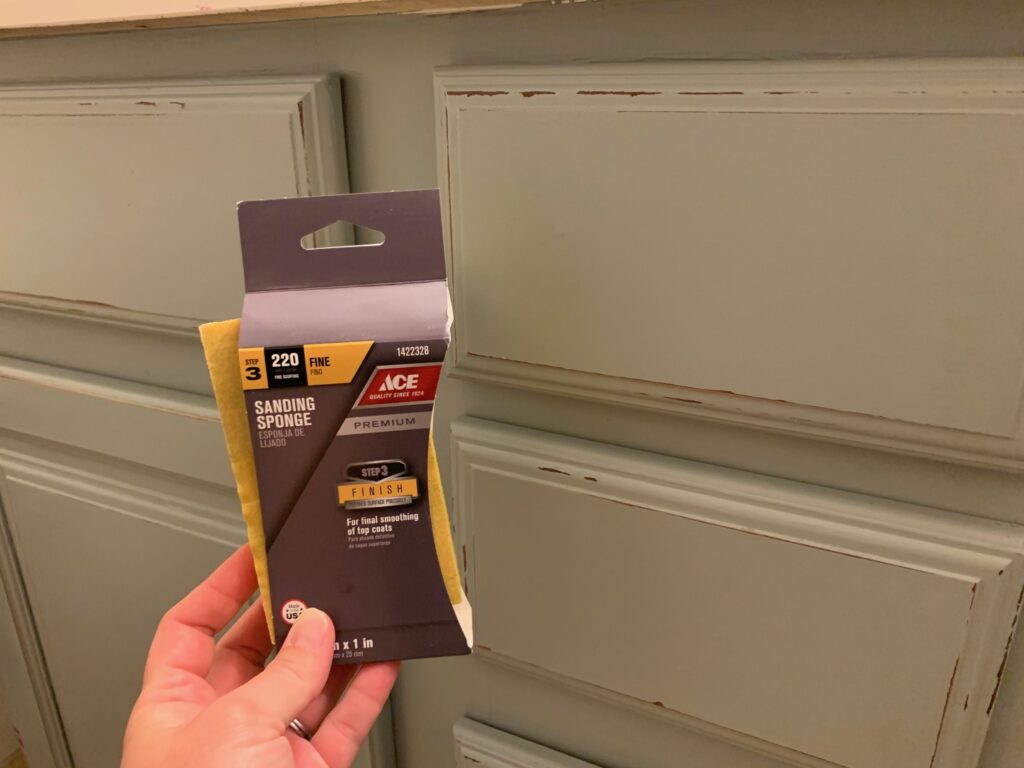
5. Take a fine grit sanding block like this one and sand around the edges for a distressed look. (This was when I knew I loved my cupboards, mostly because it made my imperfect paint job forgivable.)
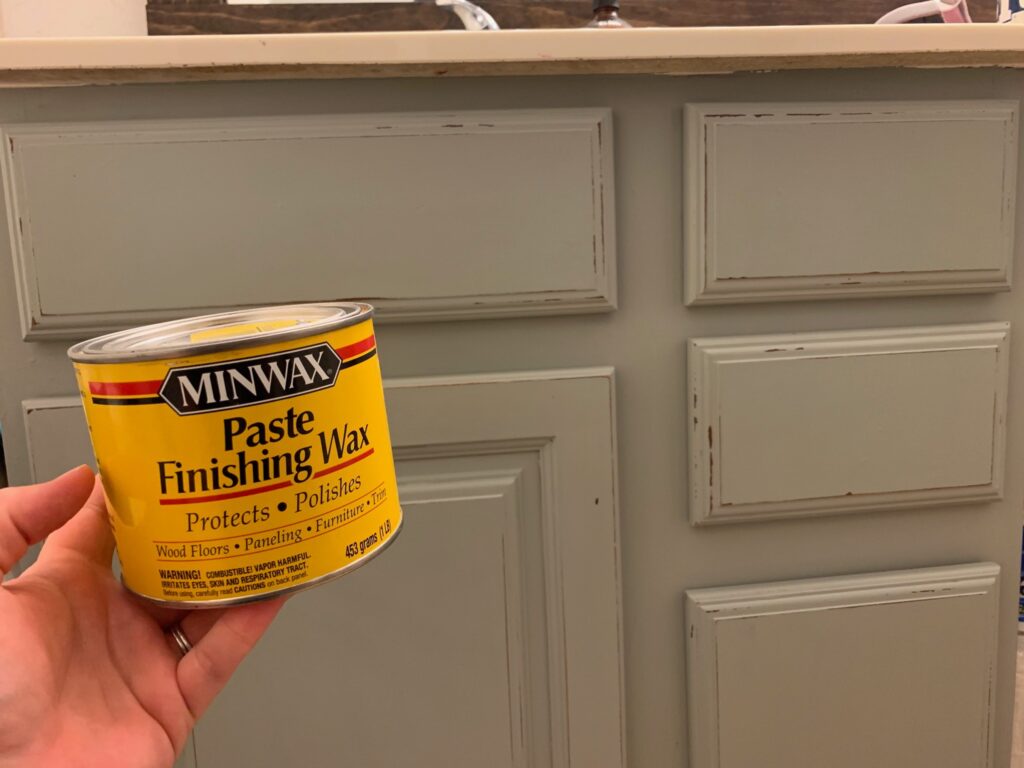
6. Finally, rub some Finishing Wax all over your beautifully painted cupboards. This will seal the paint and give the cupboards a protective finish. You could use a rag like this.
This was a really fun project and fairly inexpensive. I hope you try something brave today!
-Stay tuned for part 2-
Love, Rach
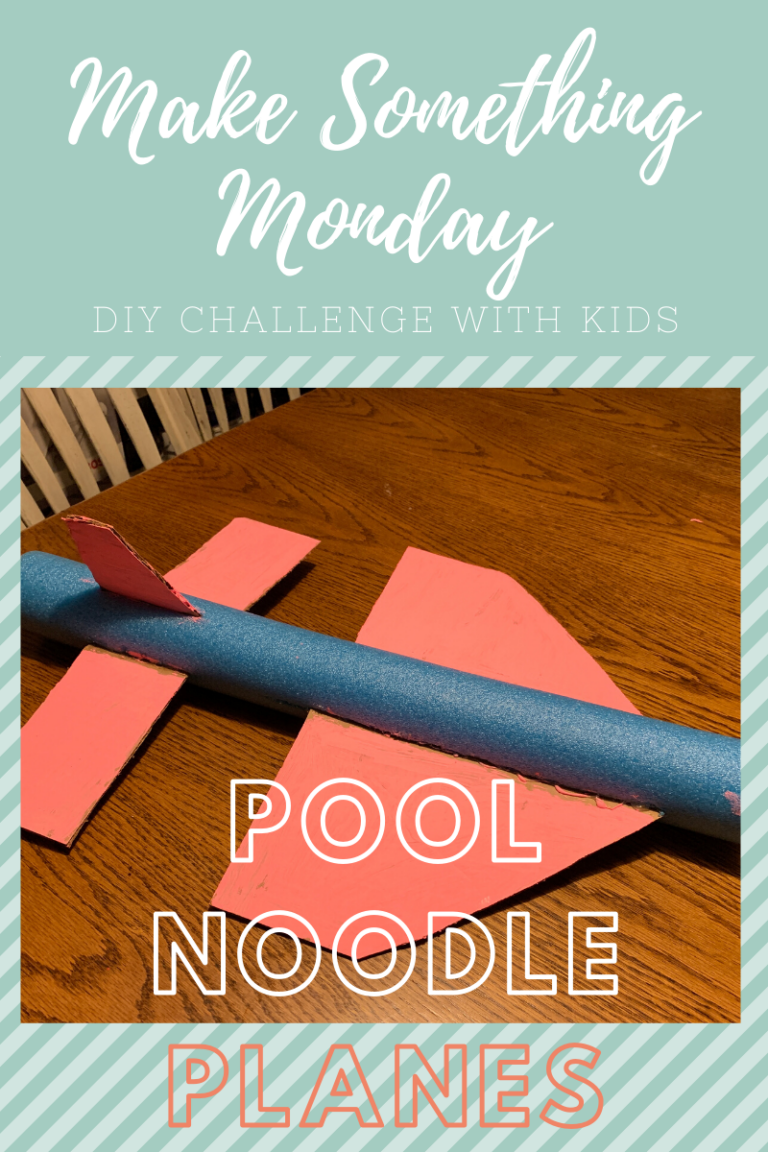
Today for Make something Monday my older three are gone at camp so I thought the littles would really like these pool noodle planes. I found these somewhere on Pinterest and they looked easy enough for kids to make.(they were not) We must have royally messed up somehow cuz these planes suck! Hear me out…….

Welcome summer 2019! If any of you are like me, you might have mixed feelings about summer. For example, you LOVE sleeping in and having no schedule to surrender to. But, you HATE how quickly your kids get hungry and bored all. the. Time! (I mean, it’s enough to want to pull your hair out.)…